2023. 1. 31. 23:19ㆍ모바일어플개발/Flutter
안녕하세요~ totally 개발자입니다.
RefreshIndicator
오늘은 아래로 스와이프하여 새로고침을 구현하여 데이터를 갱신하는 방법에 대해 알아보도록 하겠습니다. RefreshIndicator를 위해서 FutureBuilder, ListView.builder, SingleChildScrollView를 같이 활용해보도록 하겠습니다.
Step 1: 실제 json data를 https://dummyjson.com/products 여기 예제 사이트에서 데이터를 가져와서 화면에 출력해보겠습니다.
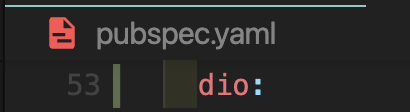
데이터 fetch를 위해 dio 패키지를 pubspec.yaml에 추가해줍니다.
Step 2: dio 임포트 해주고, 11번째 줄처럼 dio 인스턴스를 만들어줍니다. 또한 product를 가져와서 저장할 리스트도 10번째 줄처럼 변수로 선언해줍니다.

Step 3: 다음처럼 Product 클래스를 작성해줍니다.

Step 4: FutureBuilder를 사용하기 위해 19번째 줄처럼 Future<List<Product>> 자료형으로 반환하는 함수를 만들어주고 await 키워드를 사용해서 데이터를 가져오기 때문에 async 키워드도 적어주셔야 합니다. productList가 <List<Product>>이기 때문에 map<Product> 그리고 .toList()로 최종 리스트로 만들어주면 됩니다. 그리고 initState 내에 16번째처럼 productList = getProductData()로 초기 데이터 세팅해주시면 됩니다.

또한 refresh(새로고침)을 위해 refreshData를 다음처럼 적어주시면 되며 setState나 refresh 함수를 사용하시면 되는데 혹시 아래 방법으로 되지 않는 경우에는

혹시 MVC, BLoC 등 패턴을 적용하여 파일이 분리되어 위 방법으로 되지 않는 경우 아래처럼 파라미터로 전달해주시면 됩니다.


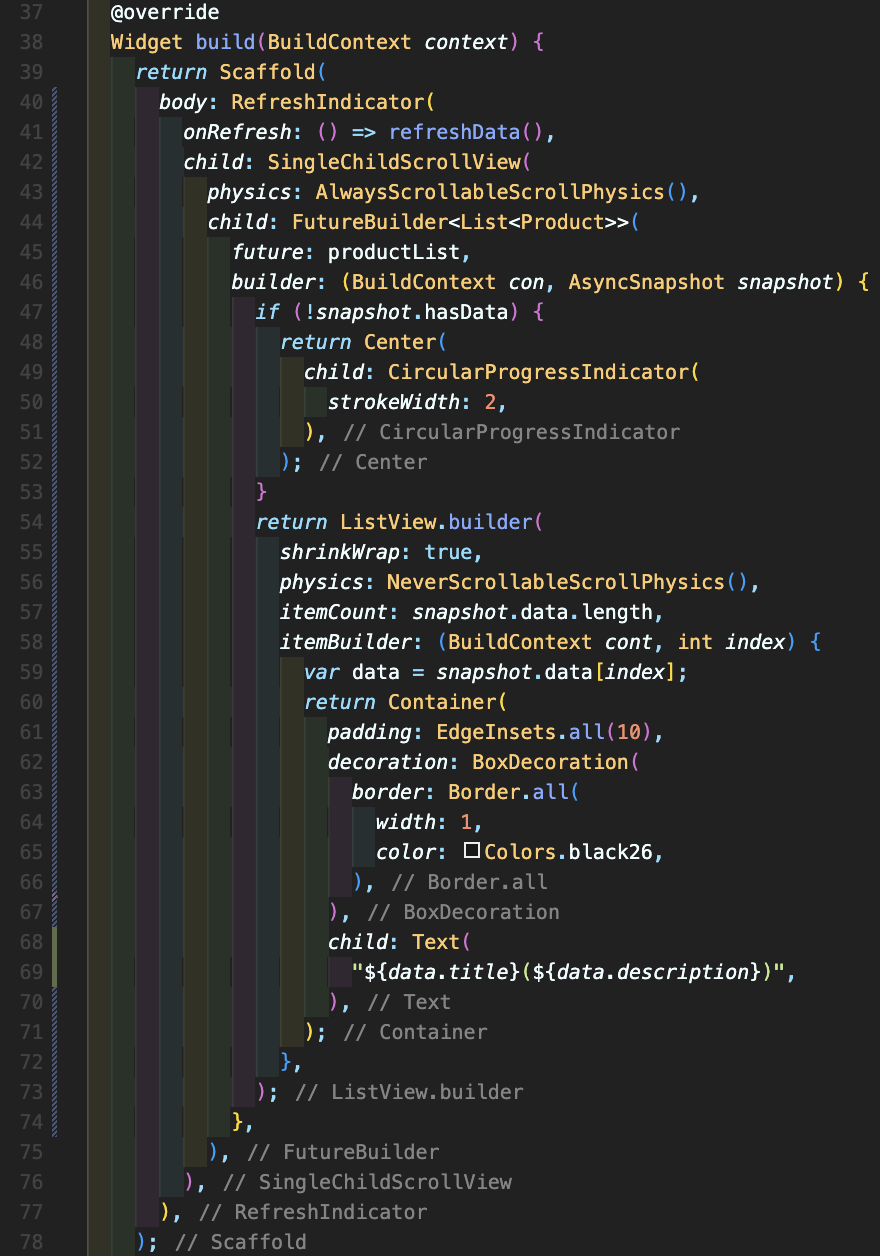
Step 5: 제일 복잡한 부분입니다. 먼저 RefreshIndicator를 적어주고 onRefresh 속성에 refreshData() 함수를 넣습니다. 42번째에 SingleChildScrollView를 넣었는데 RefreshIndicator는 기본적으로 스크롤되지 않으면 작동되지 않기 때문에 SingleChildScrollView를 통해 physics 속성에 AlwaysScrollableScrollPhysics()를 넣어서 항상 스크롤 될 수 있도록 만들어주셔야 합니다. 그 후에 44번째 줄처럼 FutureBuilder을 넣고 타입이 <List<Product>>으로 넣어주셔야 합니다. 45번째 future 속성으로 10번째 줄에서 생성한 변수인 productList를 넣어줍니다. 그 후 builder 속성을 만드시고 아래처럼 쭉 작성해주시면 되는데 snapshot에 data가 있는지 없는지 여부가 판단되기 때문에 if (!snapshot.hasData)를 사용해서 데이터가 아직 존재하지 않을 때에는 로딩 중 표시 위젯인 CircularProgressIndicator로 표시해줄 수 있습니다. else인 경우 ListView.builder를 사용해서 배열의 모든 요소들을 컨테이너로 표현했습니다.
Step 6: 결과는 아래와 같습니다. 아래로 스와이프할 때 refresh 아이콘이 보이면서 새로고침 되는 것을 알 수 있습니다.

[전체 소스 코드]
[유튜브 강좌 영상]
'모바일어플개발 > Flutter' 카테고리의 다른 글
| [031] 플러터 (Flutter) 배우기 - 상태 관리1 (BloC 패턴 적용) (0) | 2023.02.03 |
|---|---|
| [030] 플러터 (Flutter) 배우기 - 아이폰 Face ID(페이스아이디,얼굴인식 구현하기) (0) | 2023.02.02 |
| [028] 플러터 (Flutter) 배우기 - 애니메이션 만들기2: 카드 뒤집기 (TweenAnimationBuilder, Transform 사용) (0) | 2023.01.30 |
| [027] 플러터 (Flutter) 배우기 - 애니메이션 만들기1 (AnimatedContainer 사용) (0) | 2023.01.29 |
| [026] 플러터 (Flutter) 배우기 - bottomNavigationBar (화면 하단 네비게이션바 배치) (0) | 2023.01.27 |