2023. 5. 21. 21:04ㆍ모바일어플개발/Flutter Tips
안녕하세요~ totally 개발자입니다.
아래처럼 Home, Search, Settings 페이지를 구성하고 Home이 아닌 Search와 Settings에서는 좌측 상단의 drawer 메뉴를 보이지 않게 하고 하단 메뉴의 아이콘을 클릭하면 각 페이지로 이동할 수 있는 간단한 실습을 해보도록 하겠습니다.

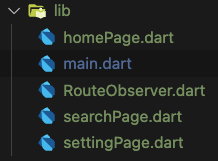
Step 1: 시작하기에 앞서 구현 방법은 여러 가지로 꼭 해당 방법으로 구현하실 필요는 없으시고 라우팅 방법도 필자처럼 하실 수도 있고 Navigator.push, pop 등을 활용해서 하실 수도 있는 등 구현 상황에 따라 다르게 적용하셔야 함을 미리 말씀을 드립니다. 먼저 아래처럼 5개의 파일들을 구성합니다.

Step 2: routeObserver를 구성을 해줍니다. 다만 이 실습에서는 이 override 부분을 사용하지는 않습니다만 추후 필요를 위해 작성을 해줍시다. didPush는 기존 화면에 새 화면을 얹어서 새 화면을 보이게 하는 방법, didReplace는 기존 화면을 새 화면으로 대체하는 방법, didPop은 현재 화면을 빼서 기존 화면으로 돌아가는 방법입니다. 다만 이 실습에서는 currentRoute만 사용하여 달리 적용하도록 하겠습니다.
import 'package:flutter/material.dart'; | |
class AppRouteObserver extends RouteObserver<PageRoute<dynamic>> { | |
String currentRoute = ''; | |
@override | |
void didPush(Route<dynamic> route, Route<dynamic>? previousRoute) { | |
super.didPush(route, previousRoute); | |
currentRoute = route.settings.name!; | |
} | |
@override | |
void didReplace({Route<dynamic>? newRoute, Route<dynamic>? oldRoute}) { | |
super.didReplace(newRoute: newRoute, oldRoute: oldRoute); | |
if (newRoute != null) { | |
currentRoute = newRoute.settings.name!; | |
} | |
} | |
@override | |
void didPop(Route<dynamic> route, Route<dynamic>? previousRoute) { | |
super.didPop(route, previousRoute); | |
currentRoute = previousRoute?.settings.name ?? ''; | |
} | |
} |
Step 3: homePage.dart, searchPage.dart, settingPage.dart를 구성합니다.
import 'package:flutter/material.dart'; | |
import 'package:project/main.dart'; | |
class HomePage extends StatefulWidget { | |
const HomePage({super.key}); | |
@override | |
State<HomePage> createState() => _HomePageState(); | |
} | |
class _HomePageState extends State<HomePage> { | |
@override | |
Widget build(BuildContext context) { | |
return const Center( | |
child: Text("HOME PAGE"), | |
); | |
} | |
} |
import 'package:flutter/material.dart'; | |
class SearchPage extends StatefulWidget { | |
const SearchPage({super.key}); | |
@override | |
State<SearchPage> createState() => _SearchPageState(); | |
} | |
class _SearchPageState extends State<SearchPage> { | |
@override | |
Widget build(BuildContext context) { | |
return const Center( | |
child: Text("SEARCH PAGE"), | |
); | |
} | |
} |
import 'package:flutter/material.dart'; | |
class SettingPage extends StatefulWidget { | |
const SettingPage({super.key}); | |
@override | |
State<SettingPage> createState() => _SettingPageState(); | |
} | |
class _SettingPageState extends State<SettingPage> { | |
@override | |
Widget build(BuildContext context) { | |
return const Center(child: Text("SETTING PAGE")); | |
} | |
} |
Step 4: main.dart를 작성합니다. AppRouteObserver의 인스턴스를 만들어주시고 (7번째 줄), 그 다음 22-24번째 줄에 routes 객체를 명시해줍니다.

Step 5: MainPage 클래스를 작성하시고 _selectedIndex 변수를 선언합니다. (탭 이동할 때 인덱스 체크 역할)

Step 6: 46번째에 현재 루트가 Home인 경우에만 Drawer 메뉴를 보이게 하고 싶으시면 ? : Ternary(삼항) 연산자를 활용하면 됩니다. 예를 들어 1 +2 == 3 ? true : false 인 방식입니다. 즉 null로 값을 주면 보이지 않는 효과를 연출할 수 있습니다.

Step 7: 하단 네비게이션 바 부분입니다. 66, 73, 80번째에 changeRoute 부분 함수를 호출하는데 이 부분은 아래에 작성했습니다.


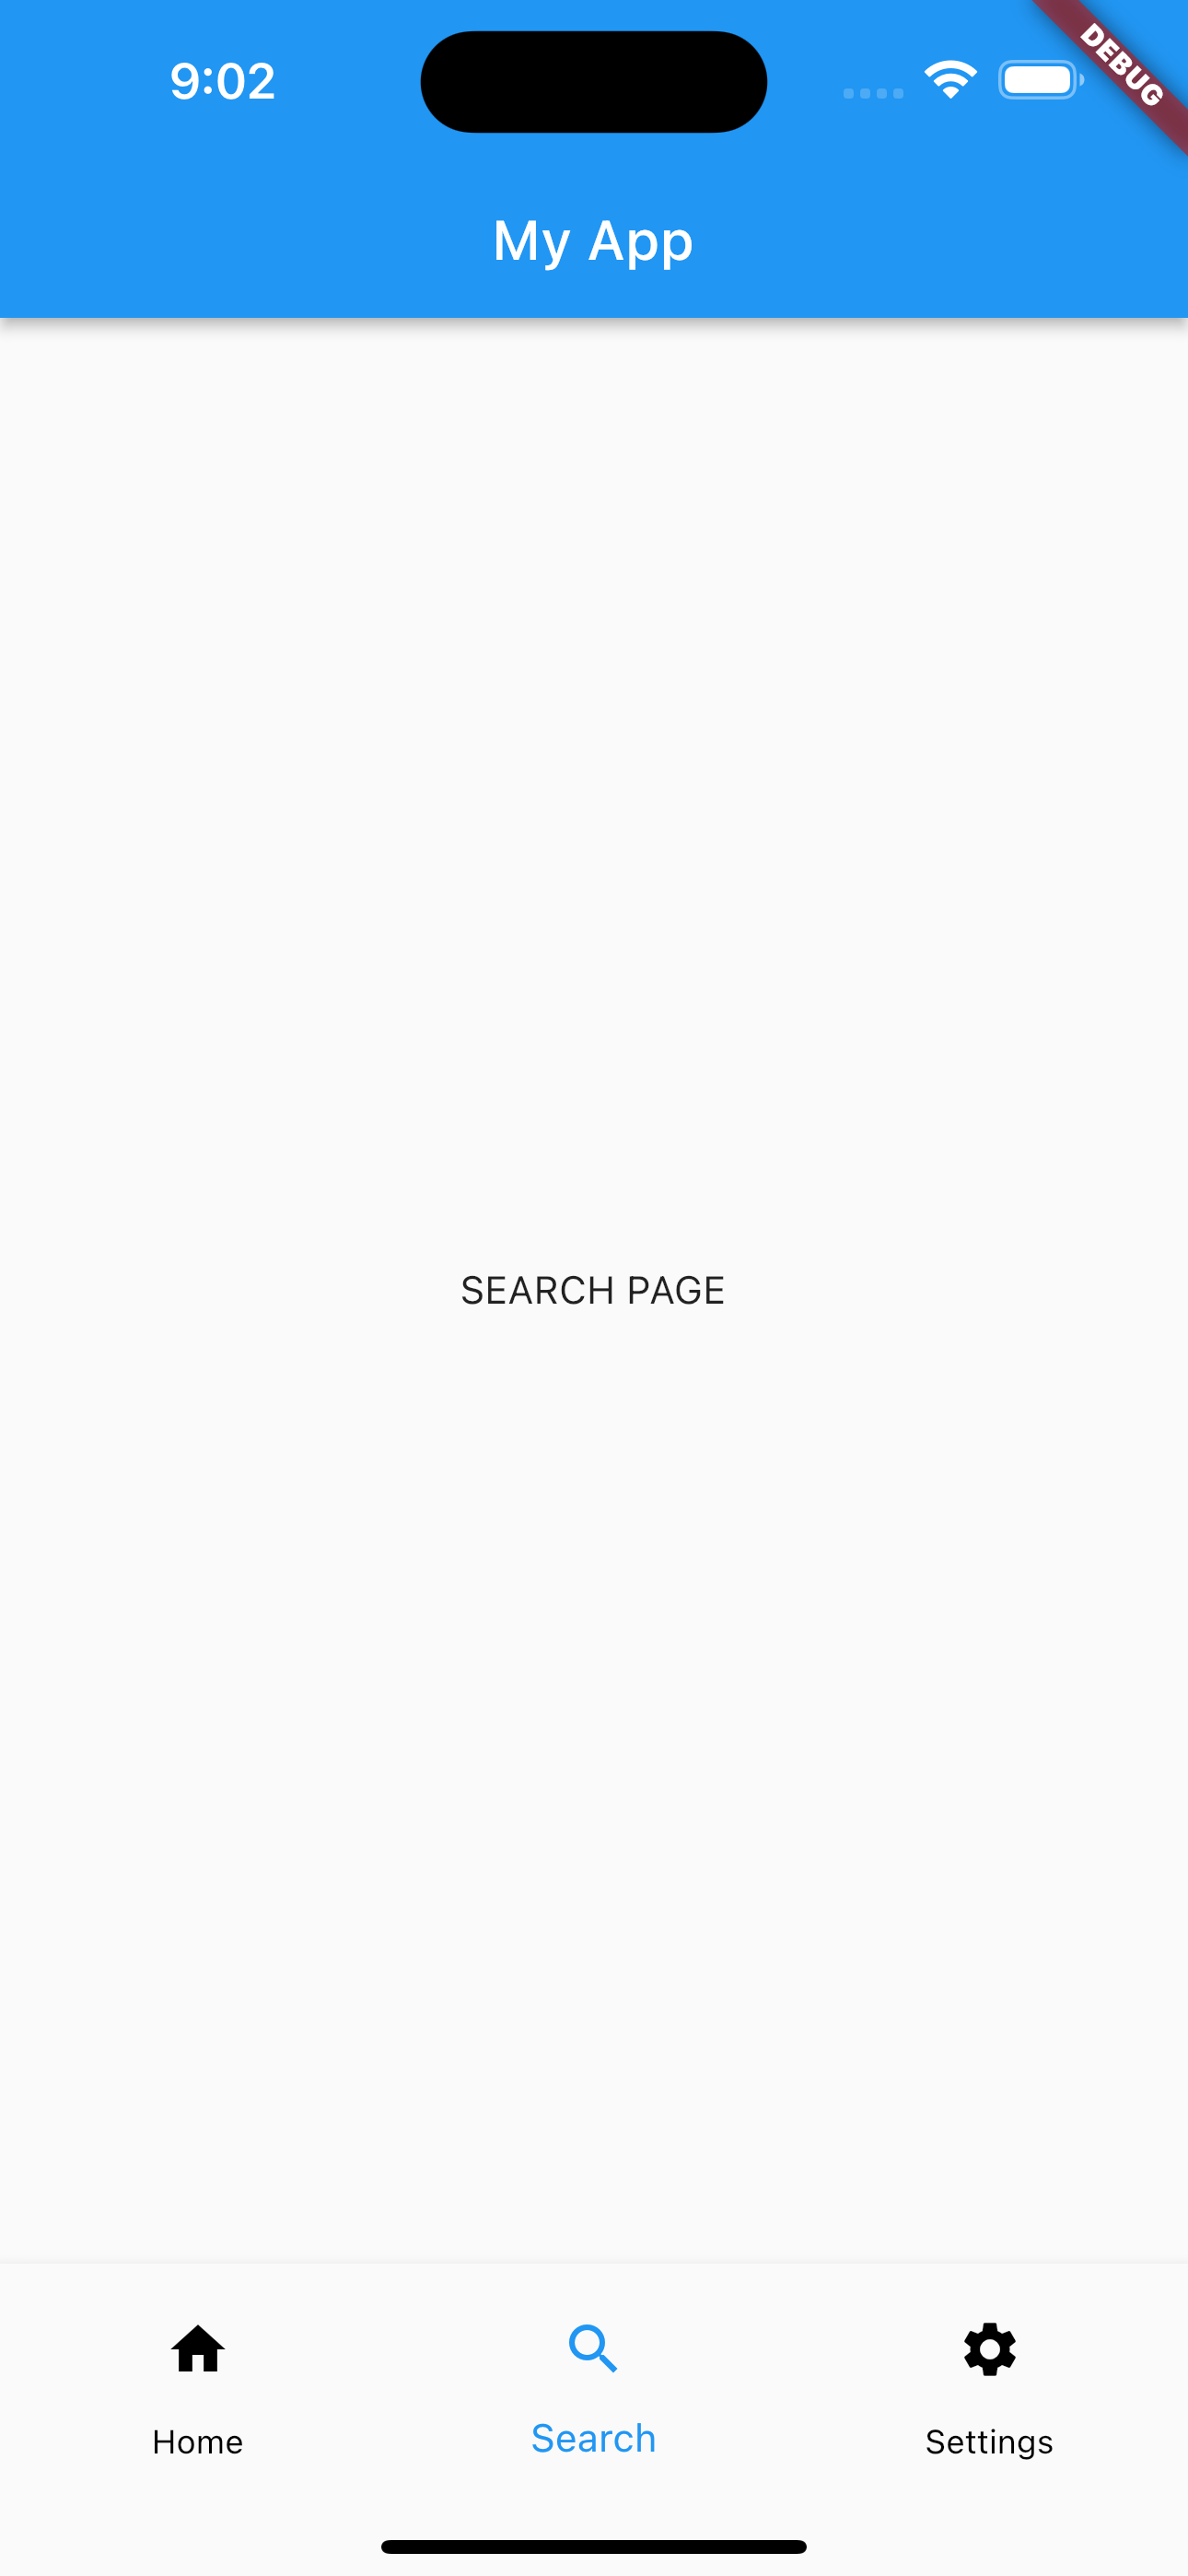
위처럼 body 부분에 현재 루트를 체크하여 나타낼 수 있고 Navigator를 사용하여 구현할 수도 있습니다. 저는 3페이지로 비교적 간단하기 때문에 이렇게 구성했습니다. 94-102번째 줄에 changeRoute 함수로 route를 전달하시고 루트를 체크 후 _selectedIndex를 업데이트한 뒤 setState로 상태 업데이트를 해주시면 완료입니다. 그 결과는 아래와 같습니다.

[main.dart 코드]
import 'package:flutter/material.dart'; | |
import 'package:project/RouteObserver.dart'; | |
import 'package:project/homePage.dart'; | |
import 'package:project/searchPage.dart'; | |
import 'package:project/settingPage.dart'; | |
AppRouteObserver routeObserver = AppRouteObserver(); | |
void main() { | |
runApp(const MyApp()); | |
} | |
class MyApp extends StatelessWidget { | |
const MyApp({Key? key}) : super(key: key); | |
@override | |
Widget build(BuildContext context) { | |
return MaterialApp( | |
title: 'Flutter App', | |
navigatorObservers: [routeObserver], | |
routes: { | |
'/': (context) => const MainPage(), | |
'/search': (context) => const SearchPage(), | |
'/settings': (context) => const SettingPage(), | |
}, | |
); | |
} | |
} | |
class MainPage extends StatefulWidget { | |
const MainPage({Key? key}) : super(key: key); | |
@override | |
State<MainPage> createState() => _MainPageState(); | |
} | |
class _MainPageState extends State<MainPage> { | |
int _selectedIndex = 0; | |
@override | |
Widget build(BuildContext context) { | |
return Scaffold( | |
appBar: AppBar( | |
title: const Text('My App'), | |
), | |
drawer: routeObserver.currentRoute == '/' | |
? Drawer( | |
child: ListView( | |
children: [ | |
ListTile( | |
onTap: () => routeObserver.currentRoute = '/', | |
title: const Text("Home"), | |
), | |
], | |
), | |
) | |
: null, | |
bottomNavigationBar: BottomNavigationBar( | |
selectedItemColor: Colors.blue, | |
unselectedItemColor: Colors.black, | |
currentIndex: _selectedIndex, | |
items: [ | |
BottomNavigationBarItem( | |
label: "Home", | |
icon: IconButton( | |
onPressed: () => changeRoute('/'), | |
icon: const Icon(Icons.home), | |
), | |
), | |
BottomNavigationBarItem( | |
label: "Search", | |
icon: IconButton( | |
onPressed: () => changeRoute('/search'), | |
icon: const Icon(Icons.search), | |
), | |
), | |
BottomNavigationBarItem( | |
label: "Settings", | |
icon: IconButton( | |
onPressed: () => changeRoute('/setting'), | |
icon: const Icon(Icons.settings), | |
), | |
), | |
], | |
), | |
body: routeObserver.currentRoute == '/' | |
? const HomePage() | |
: routeObserver.currentRoute == '/search' | |
? const SearchPage() | |
: const SettingPage(), | |
); | |
} | |
void changeRoute(String route) { | |
routeObserver.currentRoute = route; | |
_selectedIndex = route == '/' | |
? 0 | |
: route == '/search' | |
? 1 | |
: 2; | |
setState(() {}); | |
} | |
} |